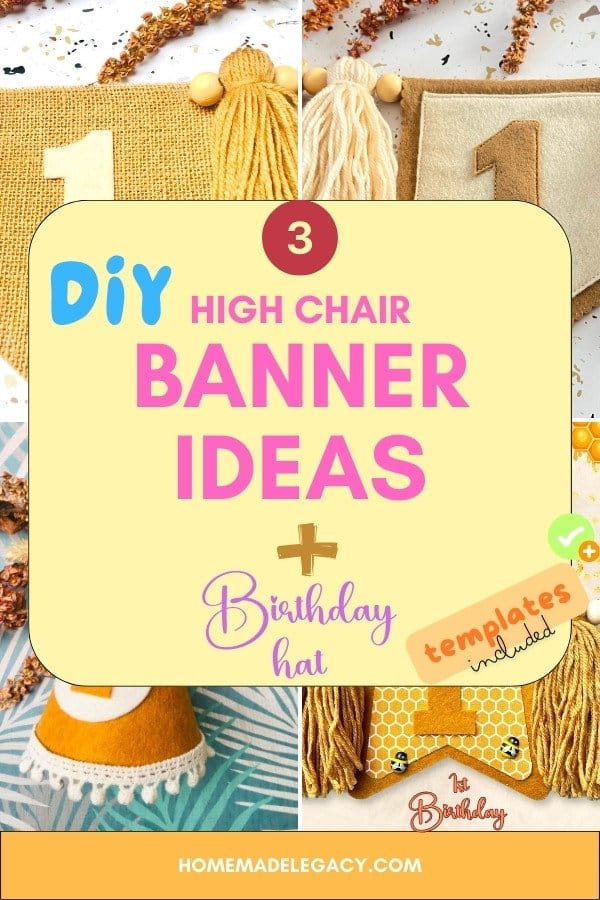
3 DIY High Chair Banner Ideas For 1st Birthday
Celebrating your baby’s first birthday is a special moment for both the parents and the little one. One lovely tradition that adds to the celebration is decorating the high chair with a festive banner. Whether you’re organising a big 1st birthday party or a small get-together, DIY high chair banner adds a personal and special touch. You just need a bit of creativity.
There are many different themes and styles to choose from for high chair banners. In this list, we have included boho-inspired and simple designs that will make your little one’s first birthday party special.
You can download the templates for free.
Even if you don’t have a cutting machine, you can still manually cut the templates. No need to worry. Just read through and follow the instructions.

How To Use The Template To Cut The Shapes
Creating a DIY high chair banner using a template is a fun and creative project. You have the freedom to select your preferred colours and designs, which makes it even more unique.
You can use a cutting machine like a Cricut Maker or Silhouette Cameo to make the flags (or your scissors!)
Here are some general instructions on how to use the templates. Refer to this section when you are creating the birthday banners.
How to make the flag with a cutting machine :
- Download the DIY high chair banner template.
- Extract the compressed folder to get svg and dxf versions of the template.
- Import the correct file (svg or dxf) to Cricut Design Space or Silhouette Studio.
- Felt sheets with iron-on interfacing can be used to make cutting easier and achieve a precise cut.
- Perform a test cut on a small piece to ensure your settings are correct before cutting the entire design.
- Ensure your fabric is securely attached to the cutting mat to prevent shifting during cutting.
- Cut the shapes
If you don’t have a cutting machine, you can still create the same banner with a little extra effort, but it will be totally worth it!
- Download the DIY high chair banner template
- Extract the compressed folder to get the image version of the template.
- Get them printed on A4 paper
- Cut the shapes and stick to the felt sheets (craft glue works)
- Cut along the lines – Not really good at cutting along the lines? if you want to hide the imperfections, the best way is to use a pinking shears. Looks fancy and tidy!
1. High Chair Banner With Double Layered Dovetail Flag

Materials Needed:
- Felt sheets
- Interfacing
- Yarn (8 ply) / Ribbons
- Cotton cord
- Craft glue / Hot glue gun
- Beads (optional)
HOW TO MAKE :
- Cut your felt sheets either with a machine or with scissors as previously described.
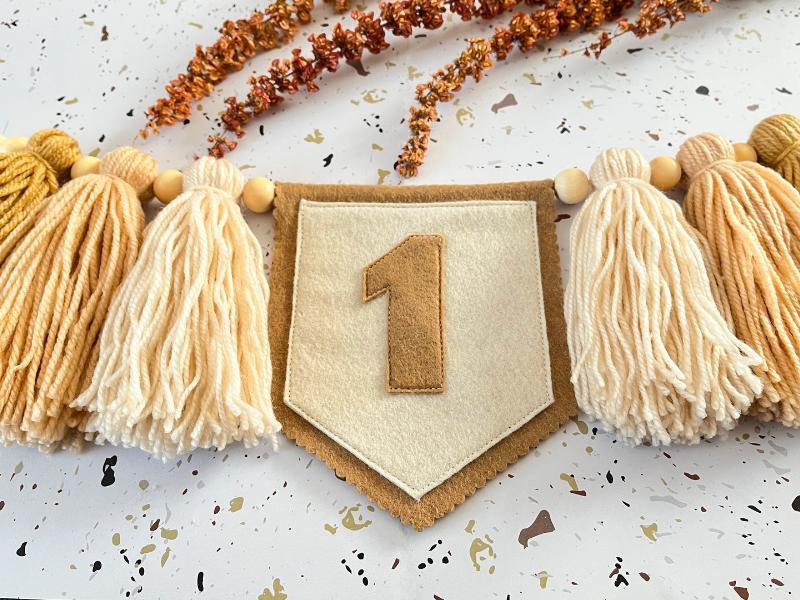
- Glue the inner and outer layers together as shown in the picture and then attach the number to the inner layer.
- Punch two holes in the outer layer for hanging
- You can make yarn tassels or ribbons as per your liking. Then hang them all together using the cotton cord to create this lovely DIY high chair banner.
- Optionally, you can use beads to make it more beautiful.
BE CREATIVE!

For a birthday party theme like a berry or bee theme, using fabric can simplify things.
Fabric has various patterns and can be used to replace the front layer of a garland, like this one made for a 1st birthday bee theme.

Are you searching for a birthday banner with a boho theme? Replace the front layer with burlap just like in this image.
You can customise this flag to create the perfect birthday banner for your celebration.
2. High Chair Banner With Sewn Pennant Flag

If you own a sewing machine or even if you have basic sewing skills, you can take the birthday flag to a whole new level.
Sewn flags look tidy and professionally crafted, while still allowing you to add your own personal flair
Materials Needed:
- Felt sheets
- Interfacing
- Yarn (8 ply) / Ribbons
- Cotton cord
- Beads (optional)
How to make :
- Cut your felt sheets either with a machine or with scissors as previously described.
- Optionally, you can use a pinking shears to cut the outer layer to make them look cute (see the photo)
- Sew the number to the inner layer
- Fold the outer layer about 2cm backwards at the top, then sew it together with the inner layer
- Hang the flag and tassels/ribbons with the cotton cord.
3. High Chair Banner With Burlap Pennant Flag

Materials Needed:
- Burlap
- Felt
- Yarn (8 ply) / Ribbons
- Hot glue or craft glue
- Cotton cord
How to make THE FLAG :
- Cut the shape of the number using the above instructions.
- Extract the downloaded folder and get the image version of the template and print it out.
- Cut along the lines to get the shapes.
- Stick the paper to the burlap and cut the flag shape on the burlap.
- Stick the number on the burlap layer using hot glue or craft glue.
DIY 1st Birthday HAT

Materials Needed:
- Cardstock (125-200 gsm)
- Felt sheets
- Interfacing
- Yarn
- Lace / Pom pom trim
- Elastic band (30-35 cm)
- Hot glue or craft glue
How to make the hat :
- Cut the shapes as described above. Make sure to cut the base of the hat using cardstock. If you don’t have a machine, use the above instructions to cut using scissors. Apart from the hat base (cardstock), you will have three more felt shapes (base cover, circle shape and number)
- Using glue, attach the two sides of the cardstock base to make the hat shape. Make sure there is a tiny hole at the top of the hat.
- Insert the elastic band into the two side holes and secure it with a knot.
- It can be a little challenging to stick the felt onto the cardstock base. Begin at one end and carefully glue small sections at a time to cover the cardstock with felt.
- Make a 4-5 cm pom pom, attach it to the top of the hat, and secure it firmly with glue.
- Then glue the circle shape and the number on the body of the hat.
- To hide any flaws at the bottom, attach the pom pom trim with glue.
That’s it. A beautiful birthday hat is ready to be worn!
Download DIY High Chair Banner Templates
Download the high chair banner templates and the 1st birthday hat template.
These are easy to make (super easy with the templates!) and certainly give a personal touch to your special occasion.
Hope you enjoy your DIY project. Let me know if you have any questions and don’t forget to share your birthday garland with us.


Leave a Reply