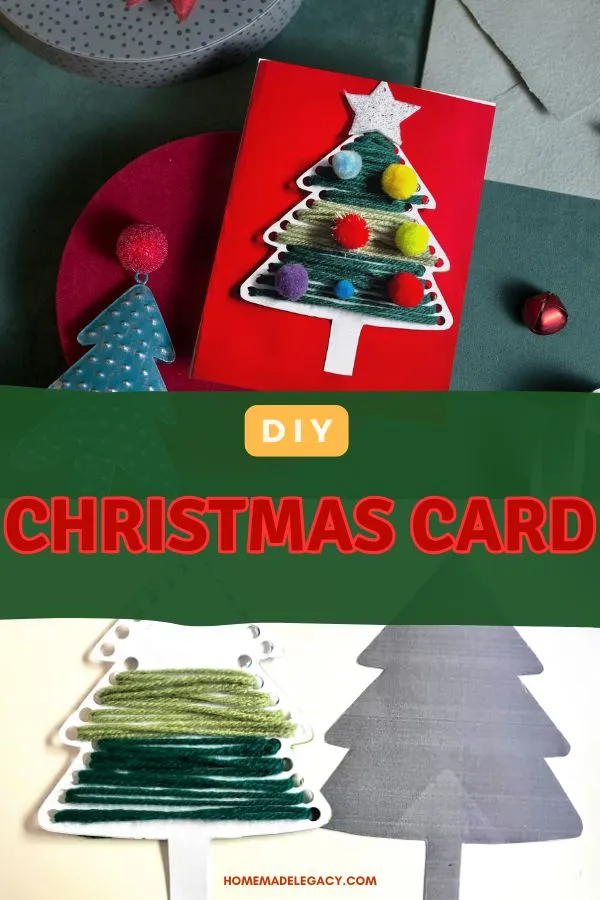
Making Christmas cards at home with kids is a wonderful way to enjoy the holiday season and encourage creativity while spending time together.
This step by step guide will help you create a beautiful card with a yarn Christmas tree.
It’s a fun and simple project that lets children express their creativity and add a personal touch to their holiday messages. This is also a great craft project to develop fine motor skills as well.

Although it’s quite simple, kids may need help to loop the yarn depending on how old they are.
Related articles :
Supplies
Here is the list of things you need to make this Christmas card.

- A4 cardstock paper
- Yarn
- Pom poms
- Hole puncher/ Craft glue / Scissors
How To Make – DIY Christmas Card
Step 1: Create the Christmas Tree
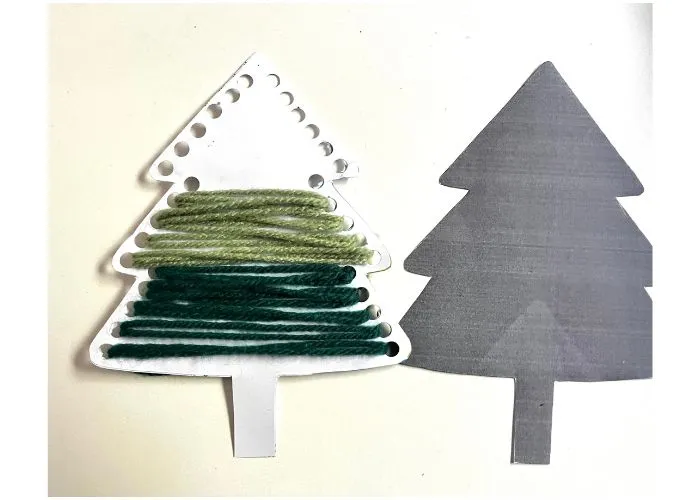
Cut a shape of Christmas tree on cardstock paper. You can download the template down in the page and use it as a stencil.
Make holes along the edges of the tree.
Loop the yarn through the holes horizontally to cover the entire tree.
You may have to loop it through the same hole two or three times depending on the size of the hole. Begin from the bottom and work your way up.

We have used two shades of green for the tree.
Step 2: Add Decorations
Decorate the tree by using pompoms. You can also use small objects like sequins, beads or buttons to create ornaments on the tree. Glue them in place.
We have also made a star from a glittery felt piece.
Let all of them dry.
Step 3: Prepare the Card
Fold the A4 size cardstock in half to create the card. You can use a red cardstock.
Glue the Christmas tree to the card. You can also sprinkle some white paint to make it look like snowing.

Step 4: PersonaliSe the Card
Add a message inside the card to personalise it. Ask the kids to draw, write, or add more decorations on the front of the card as they wish.

Leave a Reply